DIY Workbench Plans Free for Your Dream Workspace
DIY Workbench Plans: Construct Your Dream Workspace with a Free Design
Stunning DIY Workbench – Your Dream Workspace Awaits!
Are you looking for a way to improve your DIY skills, save money, and have fun at the same time? If so, you might want to consider building your own workbench. A workbench is a versatile and essential piece of furniture for any workshop, garage, or basement. It provides you with a stable and comfortable surface to work on, store your tools and materials, and display your finished projects.
Building your own workbench is not as hard as it sounds. You can create a custom workbench that meets your needs and preferences in about an hour with some basic tools, materials, and skills. You can choose from different designs, sizes, and features to suit your space and style. You can also add some personal touches and enhancements to make your workbench more functional and attractive.
This article will show you how to build your own DIY workbench with free plans. We will guide you through the process step by step, from planning and preparing to assembling and finishing. We will also give you some tips and tricks to make your workbench more durable and efficient. By following our instructions, you will be able to create a workbench that you can be proud of and enjoy for years to come.
Get started with our DIY workbench plans for the garage and enjoy the satisfaction of creating something practical and useful with your own hands!
Why Every DIYer Needs a Sturdy Workbench

Transform Your Space – The Benefits of Building Your Own DIY Workbench.
A sturdy and practical workbench is crucial for any DIY enthusiast. Free access to DIY workbench plans allows you to save money and customize it according to your specific needs. Unlike store-bought options, making your own workbench offers greater flexibility for personalization. You have the freedom to choose the size that fits your workspace perfectly and incorporate features like shelves, drawers, pegboards, or even lights based on the types of projects you usually tackle.
16,000 Woodworking Plans
 Unleash your woodworking potential with TedsWoodworking – the ultimate collection of 16,000 plans and projects! From step-by-step instructions to detailed schematics, it makes woodworking easy and fun. Join now for only $67 and enjoy exclusive bonuses. Act fast – this special launch offer ends soon!
Advertisement
Feel free to tailor the design to match your style and preferences if you’re feeling creative. Whether you’re a seasoned woodworker or just starting out, investing your time and effort in building a reliable workbench will enhance both your efficiency and creativity. In the upcoming sections, we’ll cover all the essential information on designing and constructing your own custom-built workbench without breaking the bank.
So whether you’re an experienced woodworker or just starting out with DIY projects, building a sturdy workbench is an investment in both efficiency and creativity that will pay dividends for years to come. In the following sections of this article, we’ll review everything you need to know about designing and building your own custom-built workbench at minimal expense!
DIY Workbench Building Guide
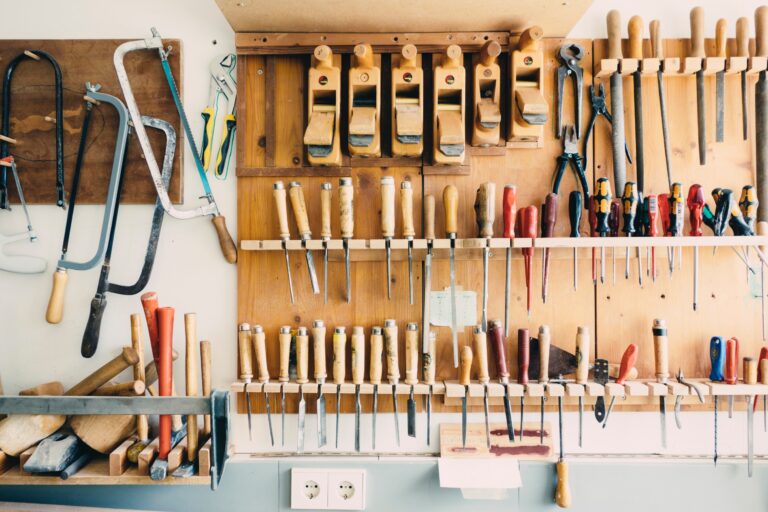
Essential Workbench Materials
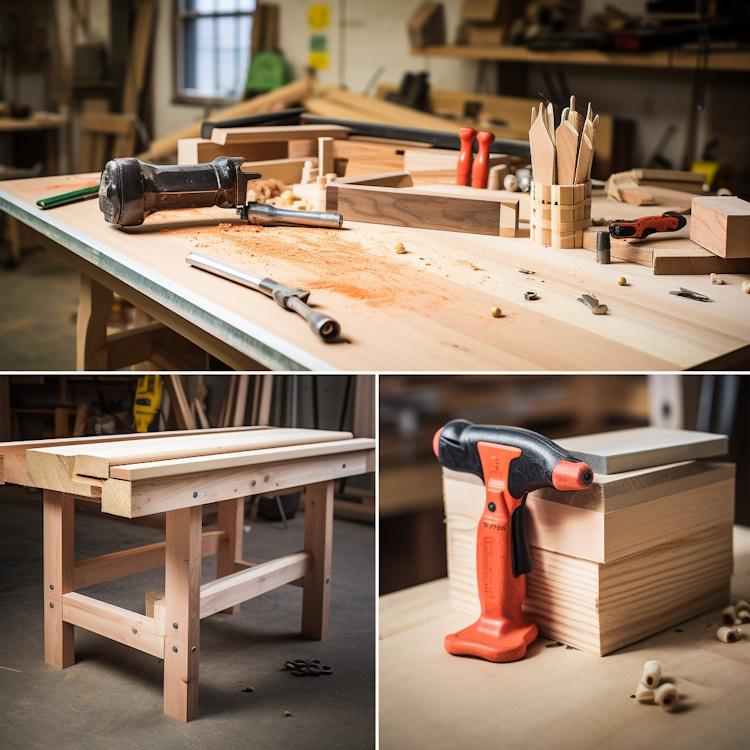
Essential Materials – Building a Sturdy DIY Workbench.
Building a workbench might seem overwhelming, but fear not! It can be a simple and rewarding DIY project with the right materials. When it comes to crafting the perfect workbench, the best wood for workbenches is an essential consideration.
To start, you’ll need lumber – the amount and size will depend on the dimensions of your workbench. Two-by-fours are popular for both legs and frame, providing sturdy support. As for the top surface, MDF is a great option.
But it’s not just about the wood! To ensure your workbench stays strong and stable, you’ll also need screws to hold everything together firmly. This will prevent any bowing or warping when dealing with heavy loads.
Wood glue is a must to reinforce the joints and add extra strength. And don’t forget the sandpaper! It’ll help smooth out any rough edges, ensuring a polished finish.
Now you’re ready to tackle that workbench project, armed with the knowledge of the best wood for workbenches and the necessary materials. Get ready to enjoy the satisfaction of building your very own workbench!
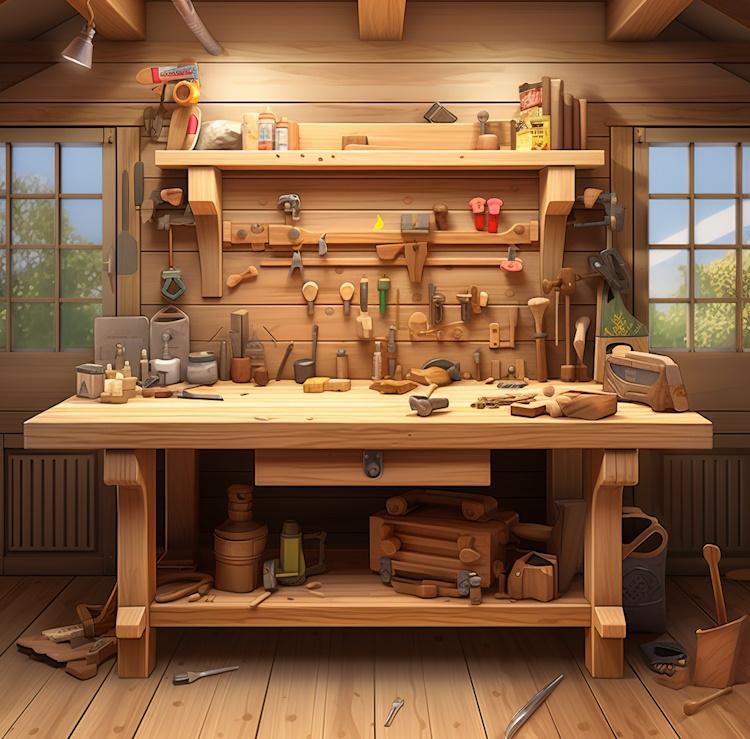
Optional Materials for Enhanced Functionality
While these items aren’t necessary, they can make your DIY workbench even more functional. One option is adding a pegboard to hold tools within arm’s reach while working on projects. This can help keep your workspace organized while freeing up valuable table space.
Another optional addition is a vise attached to one end of the workbench. A vise is a valuable tool for clamping items in place while drilling or cutting them with saws or other power tools.
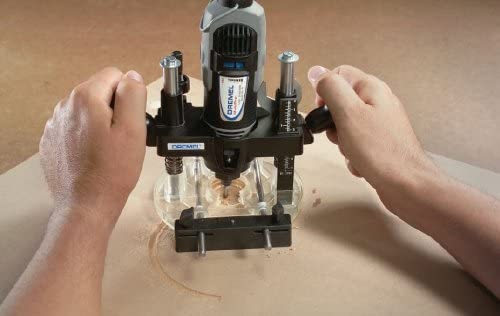
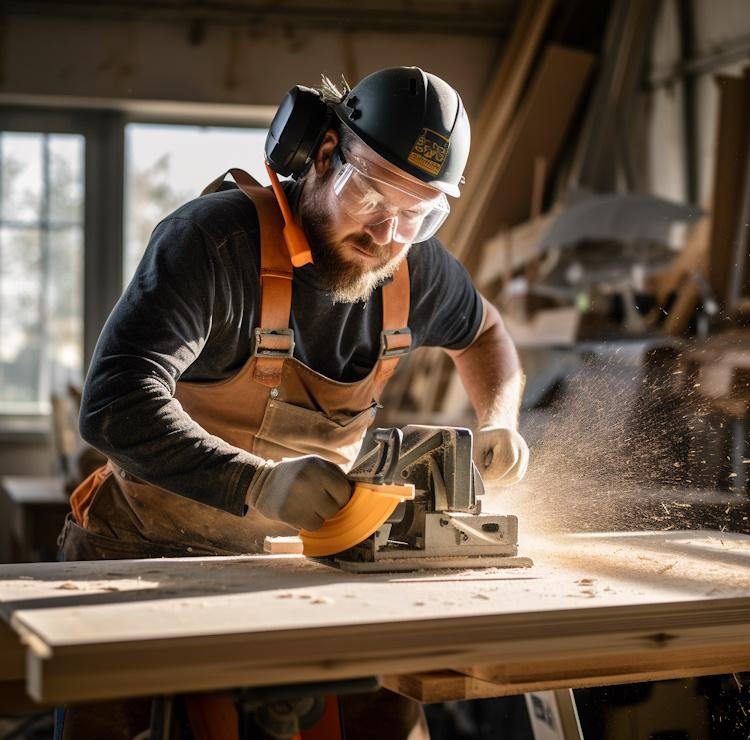
Tools Required for Building a Workbench

Must-Have Tools – Equipping Yourself for DIY Workbench Construction.
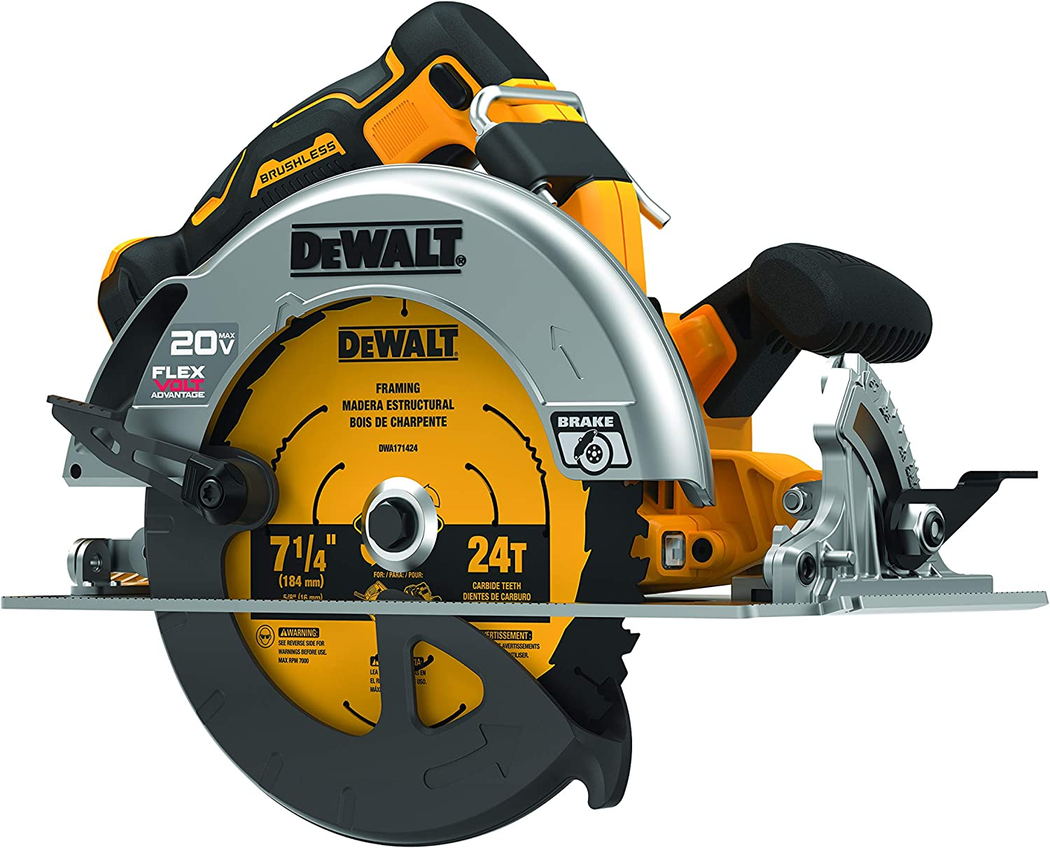
Aside from materials, you’ll need an assortment of tools to complete this project successfully. A circular saw will be helpful when cutting down large sheets of plywood or particleboard into smaller pieces to assemble your workbench. A drill with various bits will also be necessary for drilling pilot holes and driving screws into place.
A tape measure will be used extensively throughout this project to ensure proper measurements when cutting lumber pieces down to size and determining placement during assembly. Other useful tools include a hammer, level, and clamps to hold pieces in place while assembling.
Building a DIY workbench can be fun and rewarding by gathering the right materials and tools. With attention to detail and careful planning, you’ll have a sturdy work surface that lasts years.
Workbench Design Options
Exploring various designs that match your requirements is important when building your own workbench. Factors such as workshop space, the types and quantity of tools you own, and your intended frequency of use will influence the design you ultimately select. Check out these popular workbench design ideas for some great DIY options. Remember, personalizing your DIY workbench is key.
Traditional Workbenches
Traditional workbenches come in various sizes and styles but are known for their sturdiness and ability to withstand heavy use. They typically have a large, flat surface of thick wood planks, MDF, or plywood supported by four legs or a sturdy frame.
Traditional benches are usually fixed in place but can be customized with vises, clamps, or drawers for additional functionality.
Pros:
- Strong and durable – Can be customized to fit your needs
- Ideal for heavy-duty tasks like woodworking – Ample workspace
Cons:
- May require more materials than other designs
- Not portable – Takes up more space
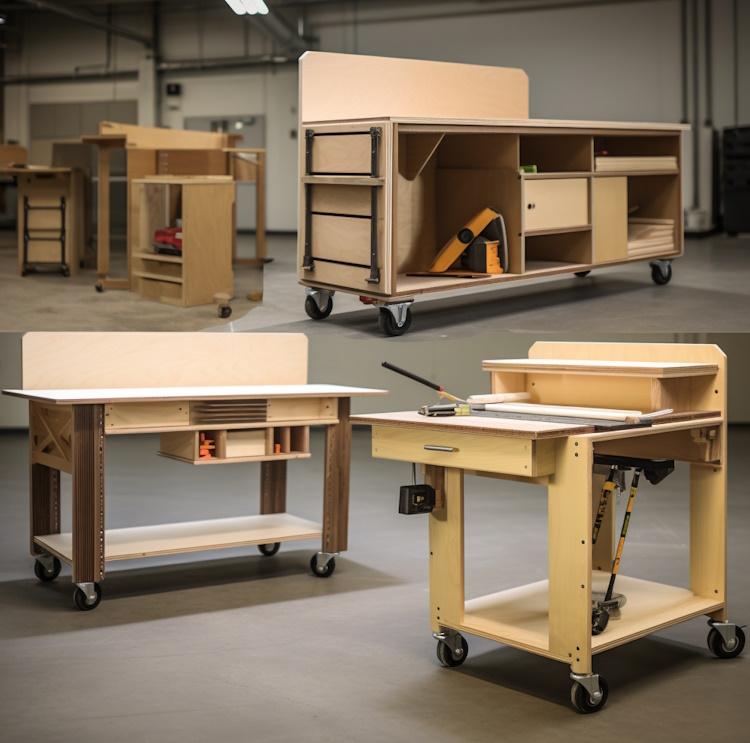
Mobile Workbenches
Mobile workbenches allow flexibility by being able to move them around as needed. These benches come with wheels that make it easy to move them anywhere in your workshop or even outside when working on larger projects.
Mobile benches may also feature storage compartments and foldable extensions that provide extra workspace.
Pros:
- Portable – Space-saving design
- Adjustable height options
Cons:
- Less sturdy than traditional models
- Might require extra support depending on the weight of equipment placed on top.
Foldable Workbenches
Foldable workbenches can be easily stored away when not in use because they can be folded into a compact size. These benches are ideal for those with limited workshop space but still need a sturdy workstation for their DIY projects.
Pros:
- Space-saving design
- Easy to store away
- Ideal for small spaces
Cons:
- May not be as sturdy as traditional models
- Limited workspace
Choosing a workbench design that fits your needs and requirements is essential. Whether you prefer the sturdy, traditional model, the flexibility of the mobile bench, or the space-saving foldable version, ensure that it provides ample workspace and durability to handle any project.
Step-by-Step Instructions for Building a Workbench
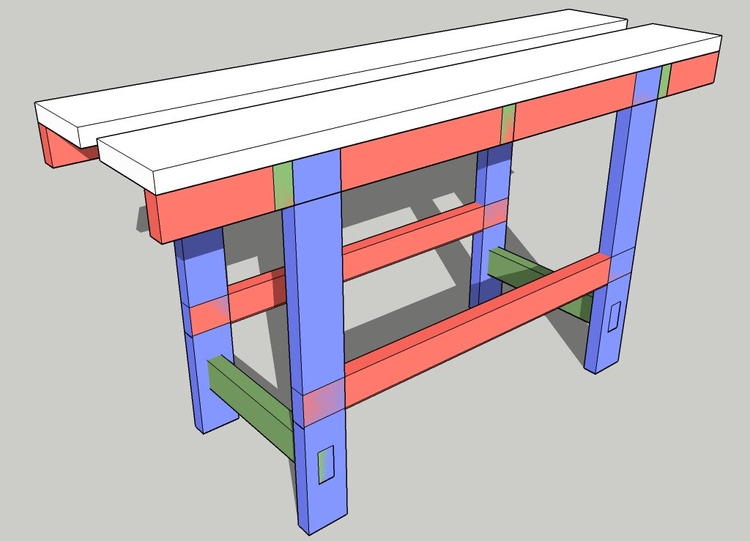
The Foundation: Building the Base
Design Options – Choosing the Right Workbench Style for Your Space.
The first step in building a workbench is to construct the base. Begin by cutting four pieces of 4×4 lumber to your desired height. Ensuring the base is sturdy and level is vital, as this will serve as the foundation for your entire workbench.
These will serve as the legs of your workbench. Cut four more pieces of 2×4 lumber using a circular saw to the length you want your benchtop to be.
These will serve as the horizontal supports that connect each leg. Next, drill pocket holes into each end of every 2×4 piece using a pocket-hole jig and screws.
Then secure those horizontal supports between each pair of legs using wood glue and screws. Make sure they’re level before screwing them together.
Adding Structural Support
With the base done, adding structural support for extra stability is next. Cut two more pieces of 2×4 lumber to match the length of your benchtop. Drill pocket holes on both ends and attach them across the center pair of legs using wood glue and screws.
Then, cut six more pieces of 2×4 lumber at an angle matching that between each pair of legs (so if you have an angle between pairs at 15 degrees, cut these at that same angle). These will be used as cross-braces and should be attached diagonally between pairs of legs on opposite corners. So, ultimately, you end up with three X-shaped arrangements underneath your benchtop.
Installing Your Bench Top
It’s time to install your benchtop! Cut many sheets or planks however you need for size requirements from your chosen surface material (e.g., MDF, plywood or butcher block).
Then attach the top to the horizontal 2×4 supports using wood glue and screws from underneath, ensuring it is level before screwing it on. Consider adding a backsplash or pegboard to your benchtop for extra functionality.
Just make sure you choose materials that can withstand everyday wear and tear. Now you have a functional, sturdy workbench that you built yourself!
These plans are just a starting point – feel free to customize or add additional features as needed for your specific use case. With a bit of time and effort, anyone can create an affordable yet reliable workbench for their DIY projects.
Safety Tips
Be Prepared Before You Start
Stay Safe – Essential Safety Tips for DIY Workbench Construction.
Before you start building, ensure you have the necessary safety equipment. This includes goggles to protect your eyes from flying debris, gloves to protect your hands from cuts and abrasions, and a dust mask to prevent inhaling sawdust or other debris. Also, ensure that all your tools are in good working condition and that you know how to use them safely.
Use Power Tools Safely
- Power tools can be dangerous if misused. Always follow the manufacturer’s instructions when using power tools like circular saws, drills, or sanders.
- Keep fingers away from the blade or bit of the tool, and never remove safety guards or other safety features. Never leave a power tool running unattended.
Avoid Lifting Heavy Objects Alone
During the construction of a workbench, it’s important not to lift heavy objects alone as this may cause back injuries. Instead, ask for help lifting items like large pieces of lumber or sheets of plywood. Use mechanical assistance such as pulleys or dollies to move heavy objects if possible.
Additional Tips:
- Wear appropriate clothing: Avoid wearing loose clothing or jewelry that could get caught in machinery.
- Work in a well-lit area: Good lighting is important for accurate cutting and measuring.
- Keep work area neat: Cluttered work areas can increase the risk of accidents.
- Take breaks: Fatigue can lead to poor judgment and accidents.
Conclusion
Building Your Own Workbench is Worth the Effort
Building your own workbench is an excellent way to save money and customize the design to fit your needs. With a little effort and dedication, anyone can make a sturdy and functional workbench that will last years. Whether you’re a seasoned DIY enthusiast or a beginner, plenty of free plans are available online to help you get started.
“Craft a stunning outdoor retreat with our easy-to-follow Wood Bench DIY guide! Perfect for beginners, this project not only adds charm to your garden but also offers a fulfilling sense of accomplishment. Dive into woodworking with confidence and create a personalized piece that’s both functional and stylish.”
The Benefits of Building Your Own Workbench
Building your own workbench is cost-effective and allows you to create something unique that fits your personal style and preferences. You have complete control over the materials used. You can choose high-quality lumber or recycled materials depending on your budget and environmental concerns.
Another benefit of building your own workbench is that it provides a sense of accomplishment and pride. Knowing that you created something with your own hands can be incredibly fulfilling, especially when it’s something as practical as a workbench.
Watch this Video for Step by Step Instructions on Building Your DIY Workbench in About an Hour
So why not give it a try? I found this video helpful. You end up with a solid bench on wheels, and Jonny doesn’t run every piece through a jointer. Starting woodworkers do not have jointers.
Here’s the summary of what’s in the video:
- Build a simple and sturdy workbench using MDF and 2x4s in about an hour with just a circular saw and a drill.
- The project involves using minimal tools to create a standalone workbench for mobility in the shop.
- Detailed plans with dimensions and cut lists are available for free, and caster measurements are included for optional mobility.
- Assembly involves creating two frames for upper and lower shelves, securing legs, and attaching a 2×4 frame with an MDF top.
- Optional casters can be added for mobility, and quality locking casters are recommended.
- Sealing the MDF with water-based varnish is suggested to prevent swelling in humid or wet conditions.
- The entire workbench can be built in under an hour, making it suitable for beginners or experienced DIYers, providing a handy workspace for the garage or shop.
Related posts:
 Building Your Dream Boat: A Comprehensive Review of MyBoatPlans®
 How to Make Your Own Boat with a DIY Boat Kit
 Discover the Secret to a Healthier Life with L-Carnitine Recipes
 Revolutionary New DIY Kitchen Cart Ideas Plan
 Buying Guide To Finding The Best Cordless Circular Saw
 The Best Skincare Routine for Combination Skin
 Woodworker Tool Chest: 5 Types Of Hand Saws For Woodworking
 How To Set Up A Small Woodwork Shop for Under $1000 With UltimateSmallShop.com
 Best Salt Water Pool System (2023)
 How to Sharpen a Handsaw with a File and Accomplish More
 How to Choose the Best Exercise Bike to Lose Weight in 2024
 Fish Smart, Save Big: Your Ultimate Guide to Cheap Fishing Boats!