Crafting Memories: How to Plan a Woodworking Shop That Will Inspire Your Soul
Woodworking Shop Layout
Planning your woodworking shop is the important first step in setting up your woodworking business. The layout of your shop can have an impact on how your business functions, including the efficiency of your production processes. 
There are many things to consider when planning your shop, such as the size and location of your tools and machinery and the type of materials you will use. These factors can help determine how to plan your shop, but remember that every woodworker is different, and one solution may not work for everyone.
The Working Lengths of Wood Can Determine the Shop Size
When it comes to figuring out how much space you will need for your shop, it is best to think about the processes you will do in your shop instead of measuring the total area. This is because many shop processes involve working lengths of wood, and a longer workspace may be more efficient for those processes than a smaller space.
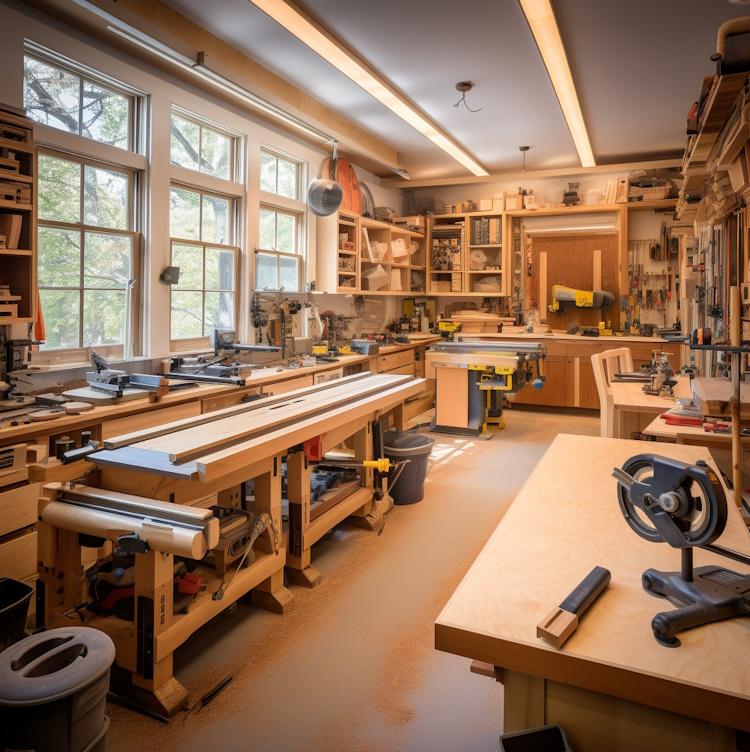
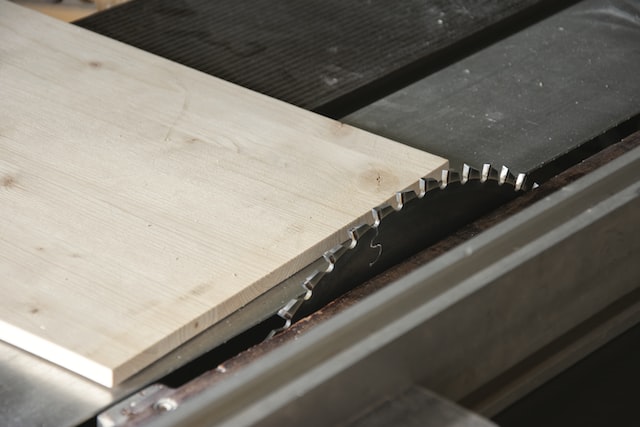
Another consideration in shop design is the placement of your main tool, the table saw. You’ll typically find it in the center of your shop to give you maximum access to it from all angles.
This layout also allows you to cut large longboards with ease. If you have the space, you can place a jointer and a planer adjacent to the table saw.
 Are you a woodworker with dreams of setting up a fully equipped workshop without breaking the bank? Say goodbye to the frustration of bad tools and costly mistakes with Ralph Chapman’s Ultimate Small Shop Guide. Drawing on over 20 years of woodworking experience, Chapman provides a step-by-step blueprint to help you create a functional workshop for under $1,000. Learn the secrets of tool selection, space optimization, and shop layouts, and discover a hidden source for quality tools at up to 70% off big-box retailer prices. Don’t let common pitfalls derail your woodworking journey—invest in the Ultimate Small Shop Guide and start crafting your projects with confidence today! Advertisement
Leave Spaces Between Machines for Safety and Comfort
It’s a good idea to leave sufficient space between the table saw these machines, and any other stationary tools in your shop. This will allow you to safely and easily move the pieces between these stations for ripping, cutting, and crosscutting.
Depending on your shop design, you may also need to include a workspace where you can work with your hand tools. Having this type of workspace near your main tools will reduce backtracking and make it easier to complete projects. A couple of sturdy sawhorses and some 3/4″ marine ply make a pretty good worktable you can move around and take apart when necessary.
You’ll probably also need a storage area for unfinished project pieces. This can be a dedicated cabinet with doors or a wall shelf. Before starting construction, you’ll want to decide which storage system will work for you.
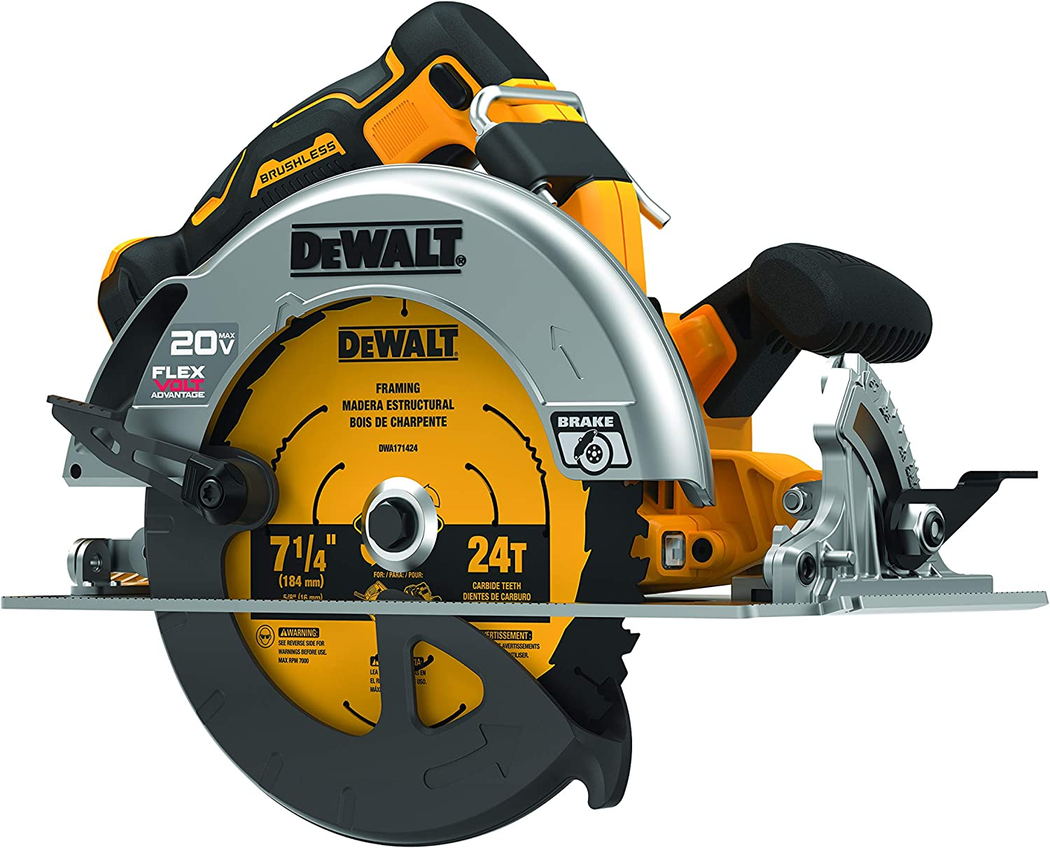
Tools and Equipment for Your Woodworking Shop
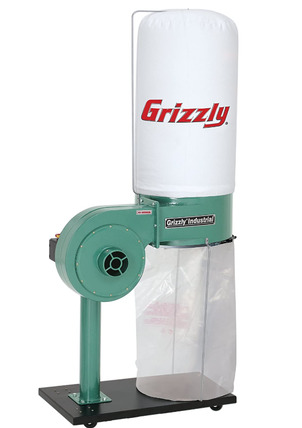
First and foremost, you should decide what kind of woodworking projects you will work on. Regardless of the specifics, your shop needs basic tools for cutting, sanding, and joining wood. You may also need other specialty tools and equipment depending on your goals. like a dust collection solution.
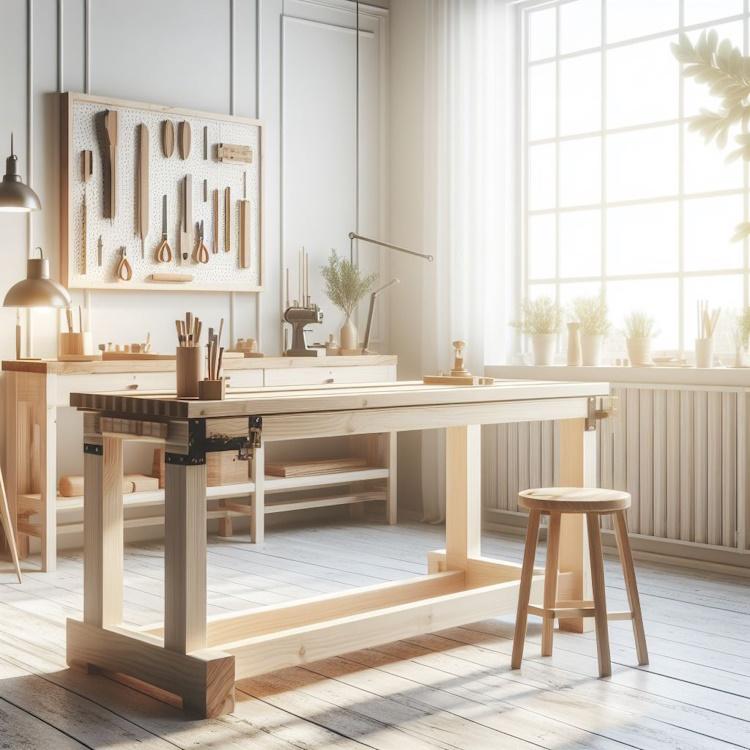
Design Your Workspace Around a Triangle
A typical shop will have power tools, woodworking benches, and storage solutions for all the supplies you need. You should design a workspace around a work triangle to ensure all your essential tools are in one place. This concept is easy to understand and can help you maximize your space based on the workflow of your woodworking processes. It also helps you avoid clutter or wasteful transportation of equipment between workstations.
As a rule, the more linear tools you have, like planers and jointers, the better. A planer needs a lot of linear space, as do miter saws and table saws.
Make it Easy to Move Wood Around the Shop
Next, think about how you’re going to move wood between processes. This is especially important when working with a variety of species and sizes. Ideally, you’ll want a layout that makes it simple to move the wood from a wood storage area to a milling station, to a woodworking bench, and then out to a table saw or another power tool.
You also have to plan the electrical layout of your shop so that the outlets are where you need them.
It’s also a good idea to have a space for holding the different types of wood you use, such as lumber, plywood, and MDF. If you’re working with these materials, they tend to be heavier than most other types of wood and are prone to warping or twisting when handled improperly.
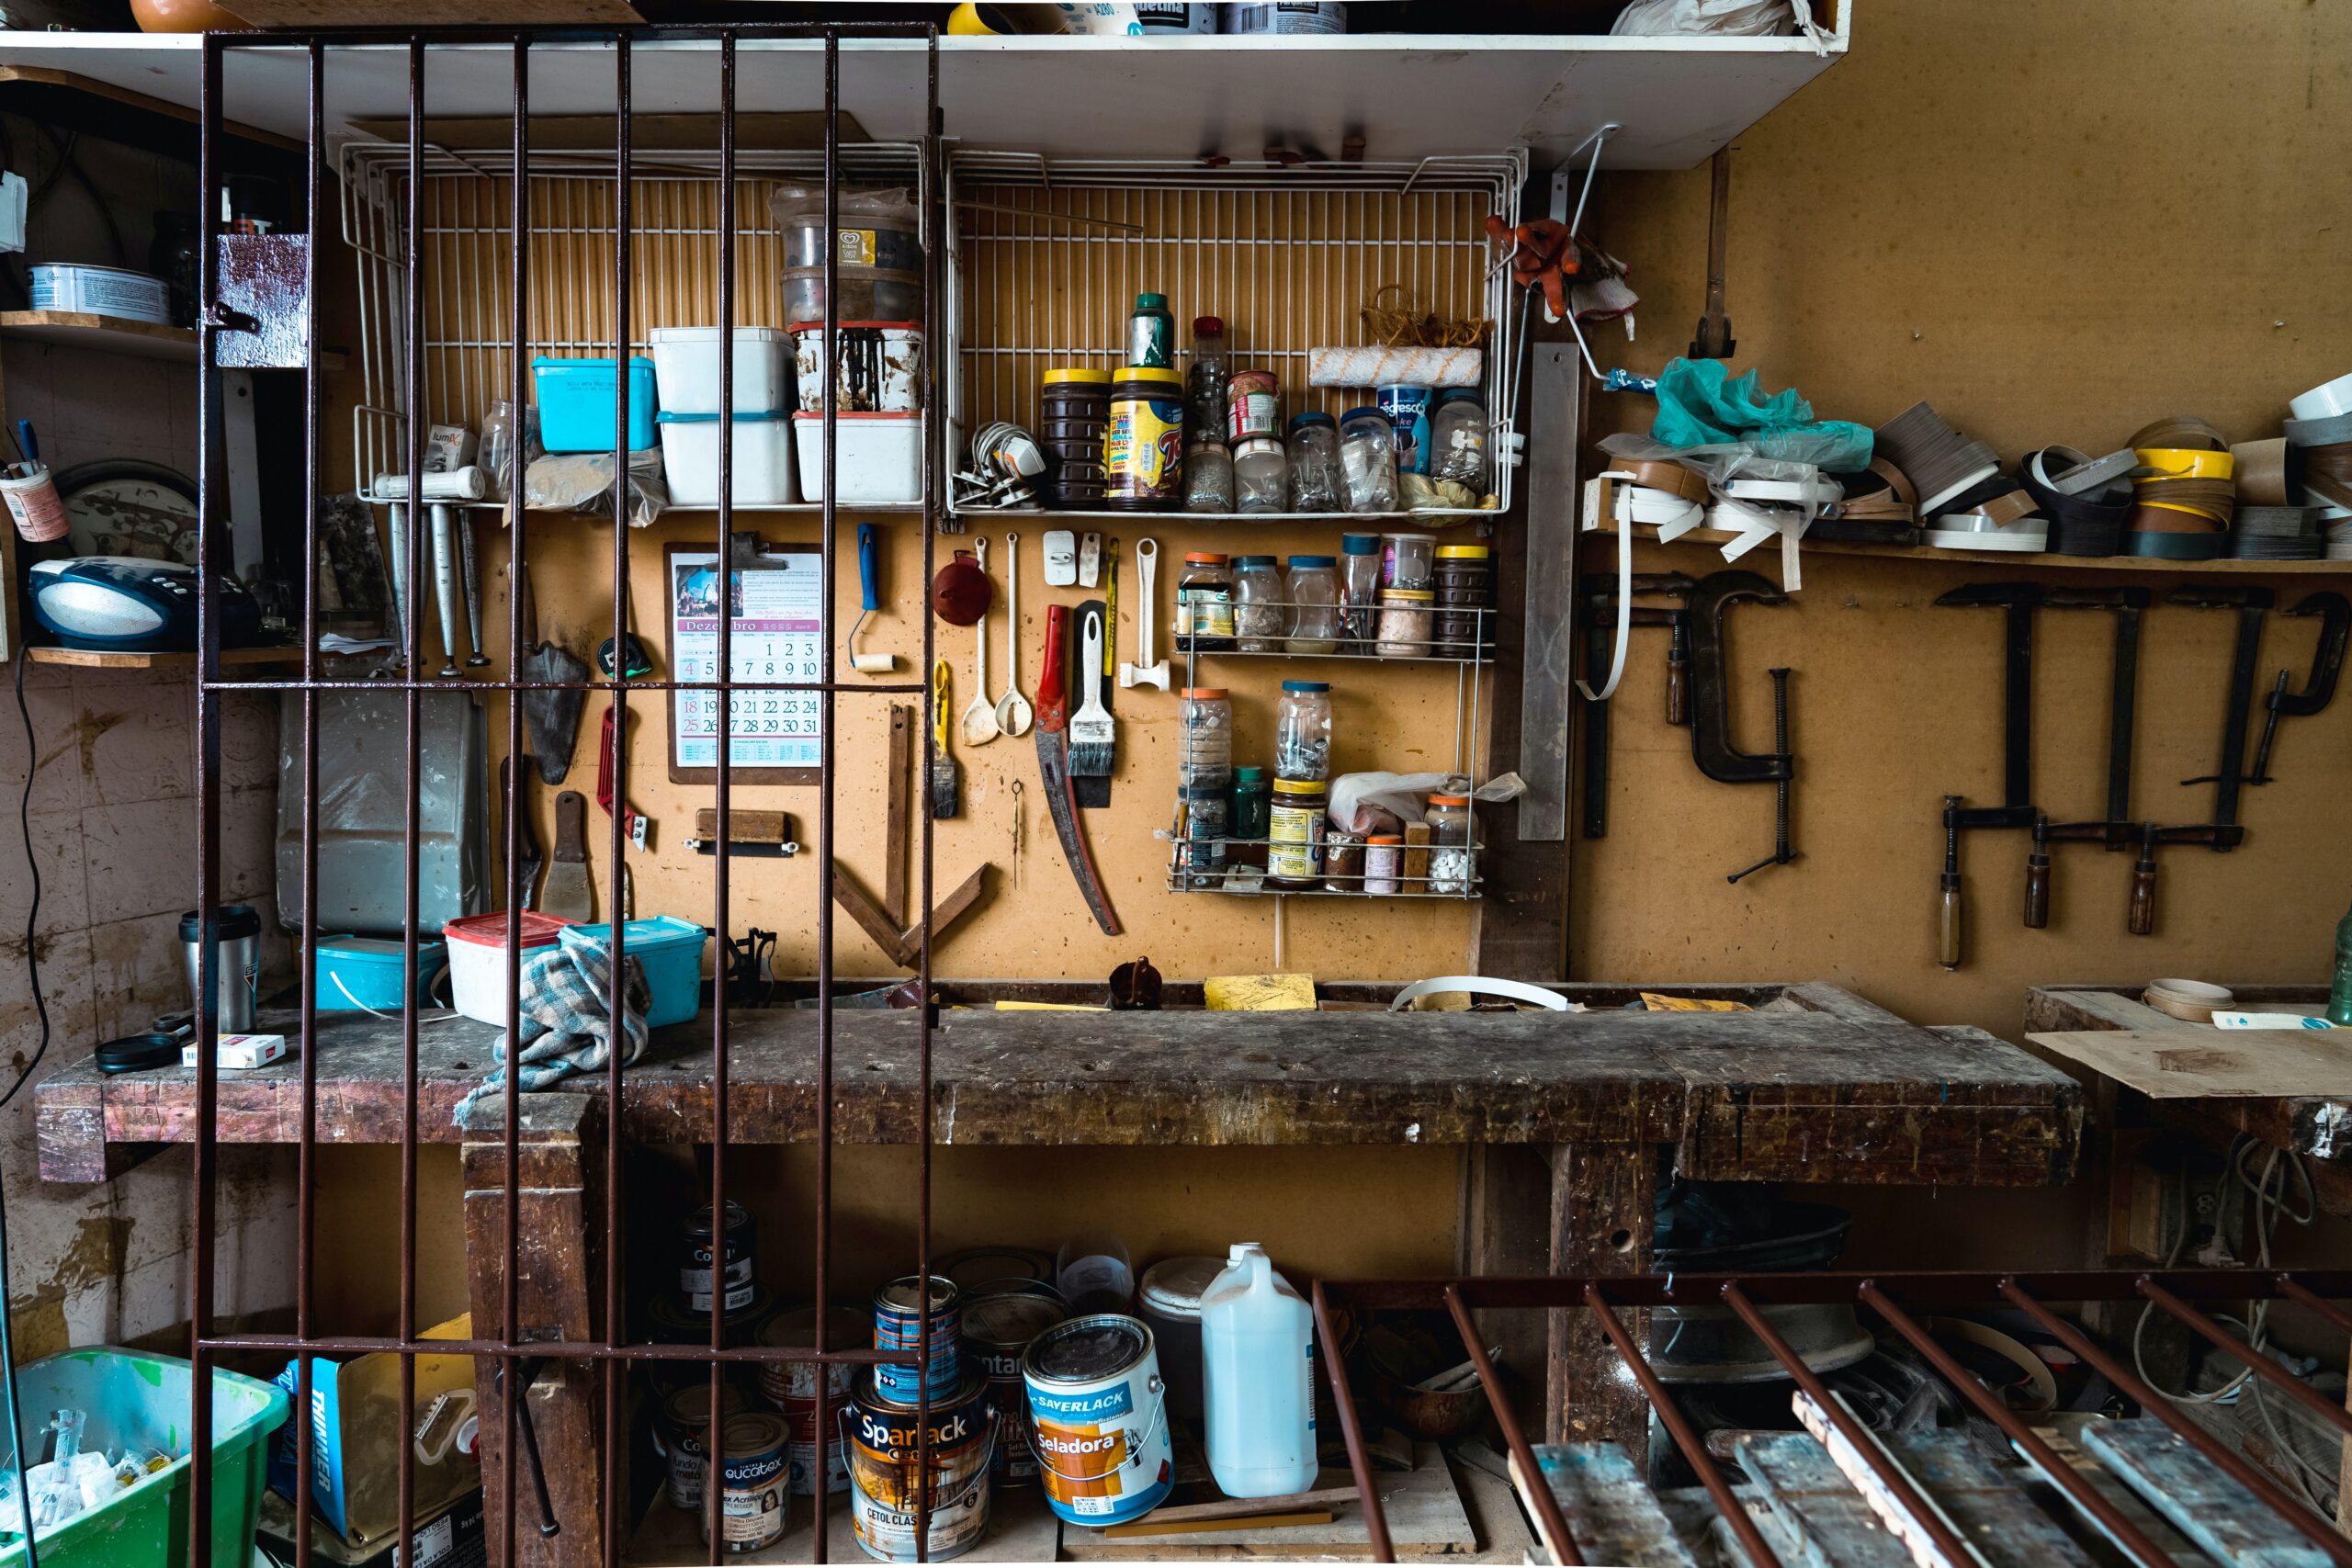
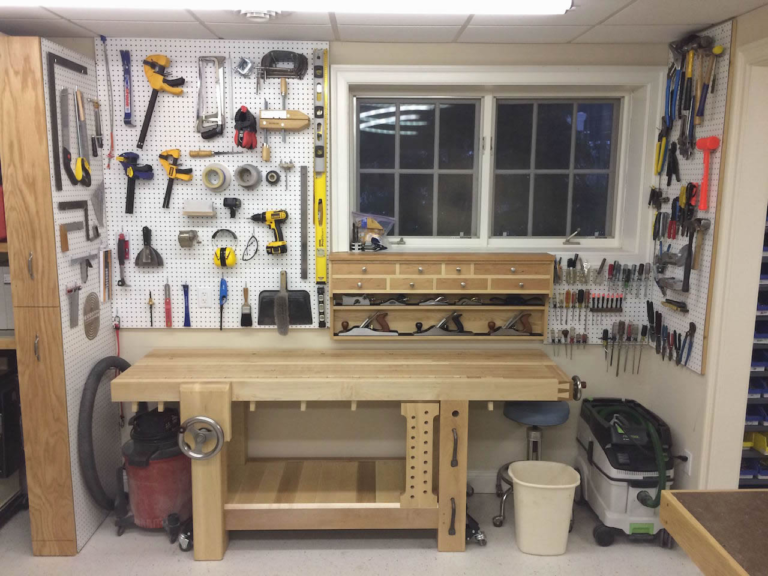
A pegboard is another great option for organizing your workshop, as it can store stationary and hand tools. You can mount it directly to the wall, put it inside a cabinet, or hang it vertically in a pull-out drawer.
You can also add wheels to your tools, such as a planer that you can wheel wherever you need it. This can effectively double your working space, so it’s worth considering if your shop is small.
Small Woodworking Shop Storage and Organization
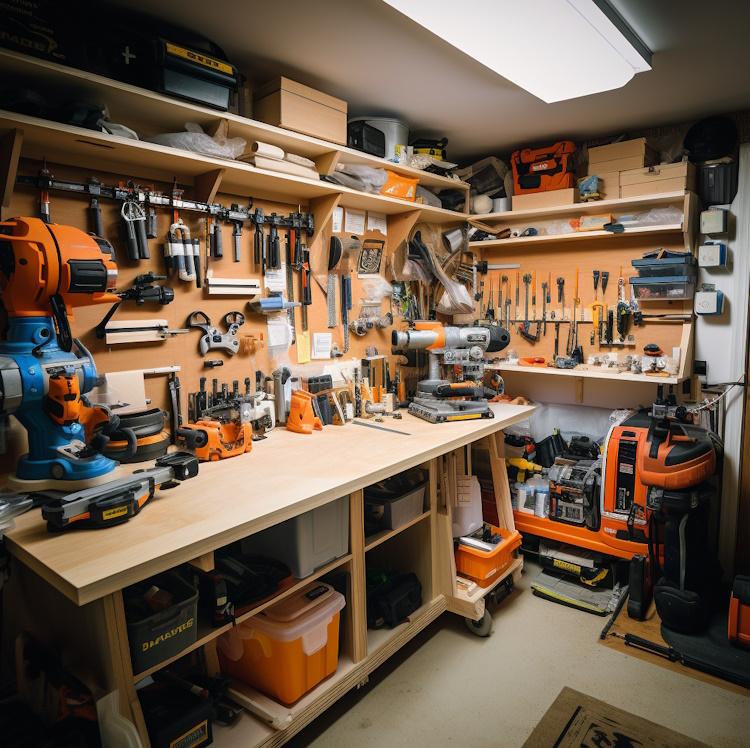
A woodworking shop needs storage for the tools, materials, and equipment needed to build projects. This means not only a workbench but also cabinets, shelves, and a storage area for wood. Depending on your particular needs, you might consider adding a shed to your shop, which can help maximize the space and provide a place to store lumber and other large pieces of equipment.
A narrow workbench aligned with a wall provides efficient space for working without taking up too much floor space, or you can choose a hinged work surface that flips down whenever you need it and backs against the wall when you aren’t. Another option is a rolling tool stand, making moving your machines around the shop easy.
Keeping wood in dry conditions is key to protecting it against warping and cracking. One way to do this is if you live in a humid climate is to rent a climate-controlled storage space.
If you have many finishing supplies, such as sanding sheets, boxed sanding discs, and solvents, you should designate an area for them outside your immediate shop. This opens up space for your workbench, but later, you may want to add a cabinet to house them in the center of the shop, where you can easily access everything you need when you’re in the process of finishing a project.
Store and Dispose of Combustibles in Special Containers
 This is especially important if you work with oil-based stains or chemicals such as boiled linseed oil, which can cause spontaneous self-combustion when they are soaked in oxygen from ambient air. For this reason, all woodworking shops should have a container to collect and dispose of these rags.
Keep your workbench clear of clutter and debris. This will make it easier to get the job done and reduce the risk of accidents.
Besides having adequate space for your work, you need to create zones and develop good habits in your shop. These include putting tools away and cleaning them up as you finish each task.
A clean shop is a happy shop, and keeping it that way will be essential to your safety and efficiency as a woodworker. To reduce the amount of dust in your shop, consider installing a ventilation system that allows air to escape through a door or window. This will also reduce the toxic fumes produced by solvents and paints.
Small Woodworking Shop Lighting
Whether planning a small shop in your garage or a large commercial workshop, the right lighting can make a big difference. Good lighting enhances visibility, reduces eye strain, and keeps you safe from accidents that can happen when a power tool goes wrong.
 A well-lit shop is also a better place to work and can help you create a more productive environment for woodworking. In addition, it makes your space more attractive to potential clients and contractors.
While your needs may vary, a general rule of thumb is to use as much light as you need to see clearly without causing eyestrain or discomfort. That’s why planning your lighting carefully before building a shop or working in one is a good idea.
In many cases, good shop lighting can be accomplished with simple fixtures that can be installed or purchased. Other options include ceiling fixtures that screw into the ceiling or are hung from a track. These lights often provide plenty of illumination and are inexpensive to install.
Some older shops still use fluorescent tubes, while newer shops use LED lighting. These fixtures emit less heat than traditional bulbs and do not interfere with cooling systems. LEDs can be positioned over specific tools for more accurate and safer results. They also can be used to focus light where you need it and provide hands-free operation.
Task lights can also be mounted over a work area to increase visibility during precision operations. This can be especially helpful for whittling and carving.
Finally, it’s a good idea to position your light so that the beam angle is wide enough to illuminate a wider area of the workspace. This helps to eliminate shadows and ensures that your light is bright enough to illuminate your work without distracting you from what you’re doing.
It’s also a good idea to choose a color temperature that’s appropriate for your needs. Some people prefer warmer lighting, while others like a tad cooler. The Kelvin rating on a bulb is a good way to gauge the color temperature.
Conclusion: Plan Your Woodworking Shop Layout Today
Planning your woodworking shop layout is a practical necessity and a creative opportunity. You can design a space that suits your needs, preferences, and style and that inspires you to create beautiful and functional projects.
How To Equip A Woodworking Shop Like An Expert From The Start (wherecanibuythat.us)
Whether you have a small or large shop, a home or a commercial space, a budget or a fortune, you can plan a woodworking shop that will make your woodworking dreams come true. Don’t wait any longer – start planning your woodworking shop layout today and enjoy the benefits of a well-organized, well-lit, and well-equipped workspace.
You’ll be amazed at how much easier, faster, and more enjoyable woodworking can be when you have a shop that works for you. Good organization makes for a safer workspace, too. Here are some good safety tips from the Environmental Safety Dept. of the University of Alabama.
Related posts:
 How to Set Up Your Woodworking Shop with the Right Tools from the Start: A Complete Guide
 How To Set Up A Small Woodwork Shop for Under $1000 With UltimateSmallShop.com
 Buying Guide To Finding The Best Cordless Circular Saw
 The Best Workbench Height for Your Woodworking Projects
 Life Saving Dust Collection For Small Woodworking Shops
 Lip Flip vs Filler: Which is Best With Alternatives
 15 Tips for Optimizing Your Small Woodworking Shop
 Classic Small Woodworking Shop Tools On A Budget
 15 Easy and Creative Small Scrap Wood Projects DIY for Beginners
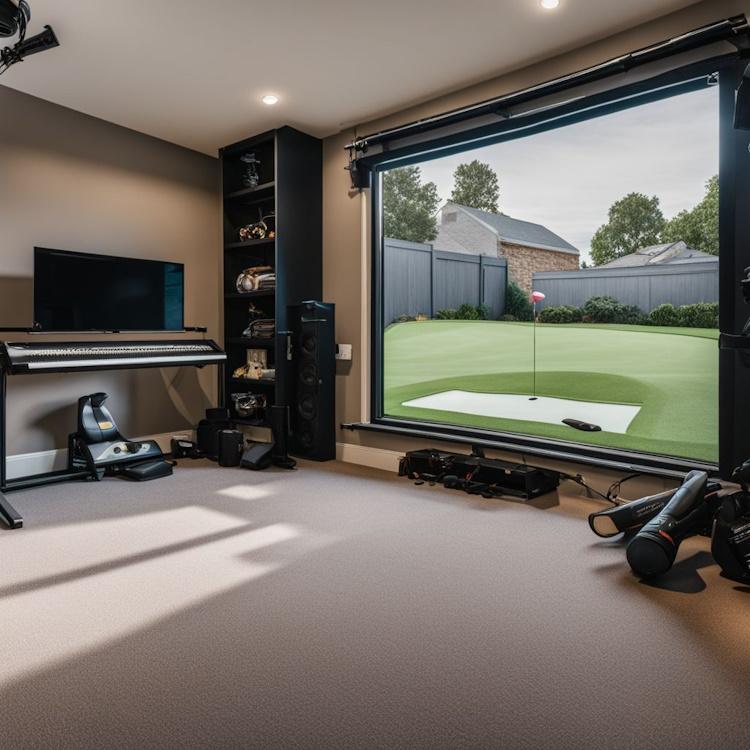
 DIY Indoor Golf Simulator: The Ultimate How To Project
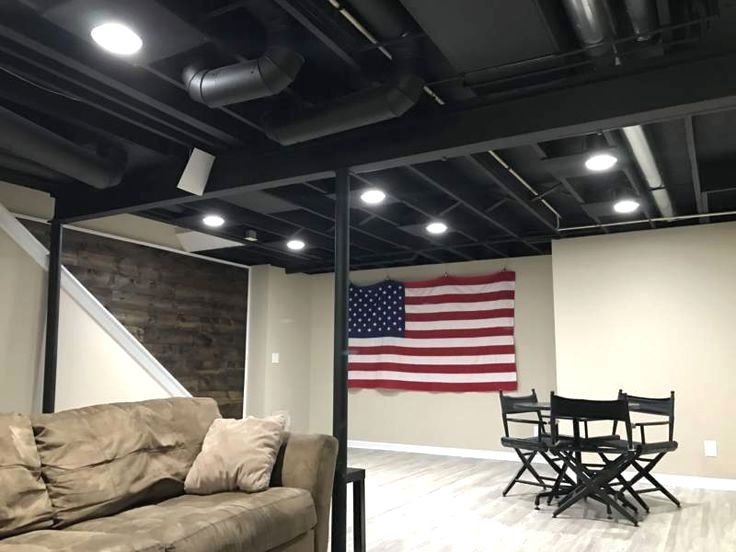 5 Easy Do it Yourself Basement Ceiling Ideas
 Building Your Dream Boat: A Comprehensive Review of MyBoatPlans®


One Comment